UCA Mesh is part of your UCA ID. Pair a PC once, and it is there in your UCA ID, in UCA AI and for UCA Core —
with the same consent rules as every support session. Your own computers are free with UCA ID Standard.
Your own PCs, with your UCA ID
Install the UCA Mesh Agent
Download it from mesh.ucagg.de/agent (or from your dashboard) and run it. It installs for you only —
no administrator needed — starts with Windows and lives in the system tray as a small eye.
If Windows SmartScreen says “Windows protected your PC”, choose More info → Run anyway.
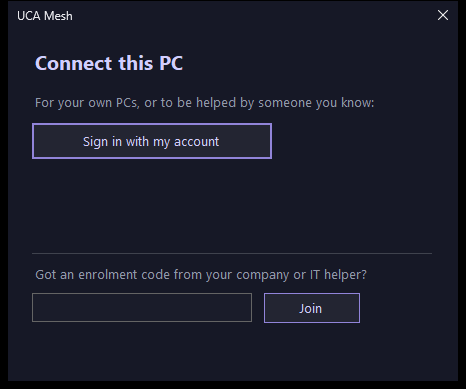
The first window: your own PC, or a company enrolment code.
Get the code
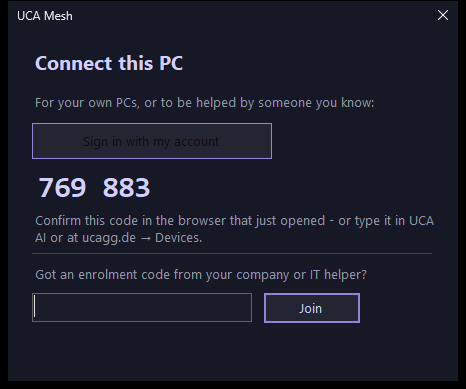
Click Sign in with my account. The agent shows a 6-digit code, valid for 10 minutes and usable once.
The code to pair this PC with your UCA ID.
Pair it with your UCA ID
Use the code in one of three places — they all do the same:
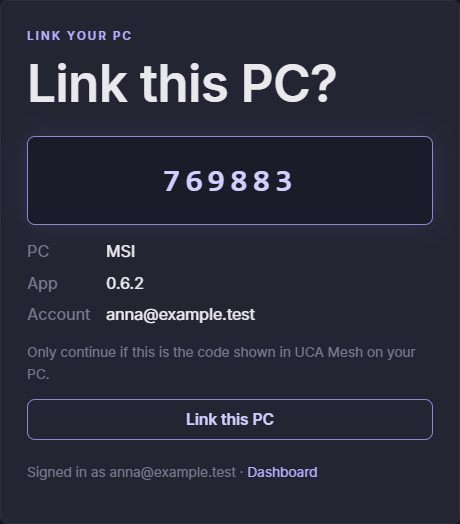
In the browser that opened (mesh.ucagg.de/link): sign in and press Link this PC.
In your UCA ID: ucagg.de/account → Devices → Add a device, type the code, press Pair.
In UCA AI on Windows: the Mesh tab → Add a device.
The agent signs in by itself a few seconds later.
Confirming the code on mesh.ucagg.de/link.
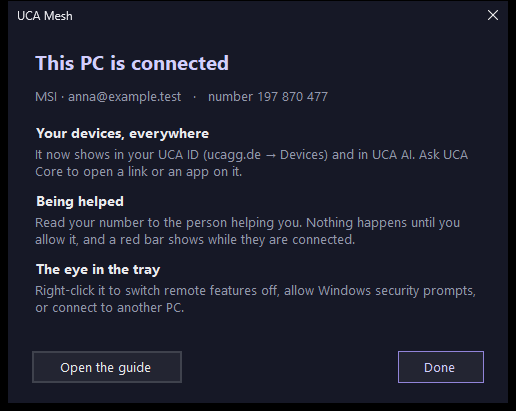
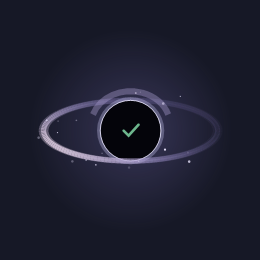
That’s it
The PC now shows up in UCA ID → Devices, in UCA AI (the Mesh tab) and to UCA Core
by voice: “open YouTube on the office PC”, “send this file to my laptop”, “continue this on the TV”.
It also appears in your dashboard.
Shown once, right after pairing.
The pool on your desktop
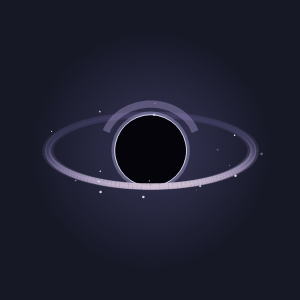
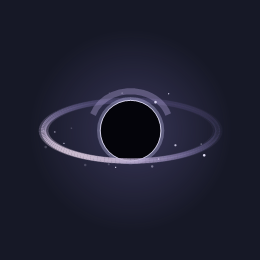
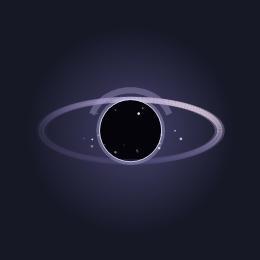
If you want, the agent puts the pool — the little black hole — on your Windows desktop. It asks once, after you pair the PC;
nothing goes on the desktop without a yes. It sits under your apps, and you can drag it anywhere.
Drop files or a folder on it, and they go to the devices you chose: your phone, your TV, your other PCs. Devices with keys get them
end-to-end encrypted; one that is offline gets them when it is back (they wait 24 hours).
Turn it on or off any time: right-click the eye in the tray → Pool.
The pool, as it sits on the desktop.
1 · Click itChoose which of your devices get the files. The choice is kept.
2 · Drop on itDrag files or a folder onto the hole. It swallows them and sends them.
3 · It arrivesSealed end to end. Nothing chosen yet? The hole spits it back and asks.
From the dashboard, end to end
Open Devices in your dashboard and your browser becomes one of your devices, with its own keys and safety
number. For a TV or phone that has keys, Open, Ring, Locate, Notify, reading its notifications and sending a file are sealed in
the browser before they leave it, and the answer — a location, the notifications — is opened only there, shown with 🔒. Devices
without keys yet still work the plain way, marked “not encrypted yet”. Your TVs and phones from UCA My Home need the UCA Pro or Max
bundle to be reached from here; the dashboard says how to connect it.
What the consent modes mean
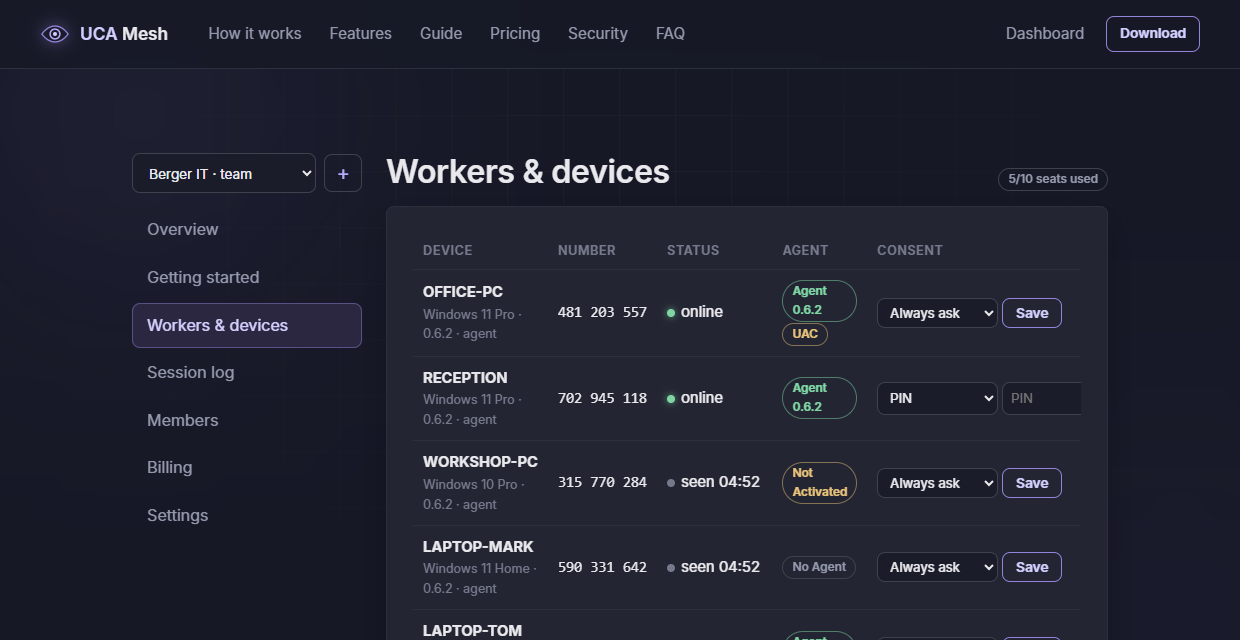
Set per PC in the dashboard. Whatever the mode, a red “being viewed — Stop” bar shows while anyone is connected, and Stop ends it at once.
Always ask
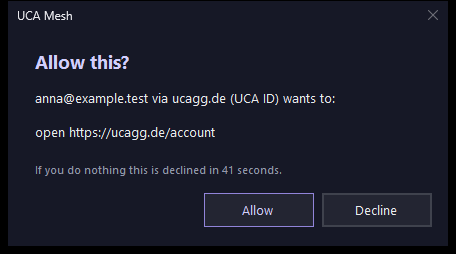
The default. Every connection and every command shows a window on that PC; nothing happens until someone there clicks Allow.
PIN
Whoever connects must type the PC’s PIN. Good for a PC you look after that is often unattended — the red bar still shows.
Full (own PC)
Only for your own PC: you get straight in from your own devices and UCA Core can act without a prompt. Someone else’s connection is refused outright — Full never lets a stranger in.
What the person at the PC sees in “Always ask” mode.
Being helped by someone
Read your 9-digit number (tray → the eye) to the person helping you. They type it in UCA Mesh → Connect to a PC.
You see who is asking and whether they want to see or see and control — and you decide.
The picture goes straight between the two PCs when it can, sealed end to end; otherwise through our relay, which only ever sees ciphertext.
While anyone is connected: the red bar, with Stop.
For companies and freelancers
In the dashboard, Devices → Add a worker creates an enrolment code. Send the link; the worker installs the agent and types the
code under Got an enrolment code? — the PC joins your network and takes a seat. Technicians connect from UCA Mesh, every session is
logged, and freelancers get the time on their invoices.
Organisations keep their own plans — Freelancer, Team, Business — see pricing.
Devices in a company network: agent, consent and status per PC.
Windows security prompts (optional)
Tray → Allow Windows security prompts… adds the small UCA Mesh Service (Windows asks for an administrator once). During a session you
approved, the technician can then see and click UAC prompts and the lock screen — and type an administrator password if Windows asks for one,
sealed end to end and never stored. A red bar shows on the security screen too, and every use is logged. Without it, you click the prompt yourself.
Switching it off
For a while: right-click the eye → untick Active. Every remote feature locks at once.
From your UCA ID or UCA AI: UCA ID → Devices → the PC’s card → Turn off, or the on/off switch on its card in UCA AI → Mesh. It stays linked, but nobody can connect until you turn it on again.
For good: Settings → Apps → UCA Mesh Agent → Uninstall (the service goes too).